
So, you’re packing up and getting ready for your house move – exciting times! But amidst the boxes and bubble wrap, you might be staring at your washing machine wondering, “How on earth do I get that ready for moving day?” The key things are: drain it, secure the drum with transit bolts (if you have them), and disconnect everything. Why bother? Because skipping these steps can lead to messy leaks, a damaged washing machine, and a much harder move for everyone involved. Here’s a simple guide to get it right.
Why Washing Machine Prep is Important (It’s Not Just About Being Tidy!)
You might think, “Oh, it’s just a washing machine, chuck it on the van!” But hold your horses! Washing machines are actually quite delicate beasts when it comes to moving. Skipping the preparation steps can lead to a few unwelcome surprises:
Water, Water Everywhere (and Not in a Good Way)
Washing machines are designed to hold water, obviously. If you don’t drain it properly, you’re looking at a potential deluge in the back of the removal van, or worse, in your new house. Spilled water can damage your other belongings, create slippery hazards, and generally just make a mess you really don’t need on moving day.
Damage to Your Washing Machine (Ouch!)
The internal drum of your washing machine is designed to spin, but it’s meant to be supported and stable during normal operation. During a move, without proper securing, that drum can bounce around inside the machine, potentially damaging the suspension system, motor, or other internal components. This could mean costly repairs or even a knackered washing machine when you arrive at your new place.
For the Removal Team’s Sake (and Yours!)
Moving a washing machine is heavy work even when it’s properly prepared. Imagine trying to manoeuvre a heavy, water-sloshing, unsecured appliance – it’s a recipe for disaster (and potentially a bad back!). Proper preparation makes the move safer and easier for everyone involved, including the fantastic removal team who are helping you.
Your Step-by-Step Guide to Washing Machine Prep:
Right, let’s hop to it. Here’s your simple guide to getting your washing machine move-ready:
Step 1: Disconnect and Unplug
First things first, safety is paramount. Make absolutely sure your washing machine is unplugged from the mains electricity. Then, turn off the water supply to the washing machine at the tap. This is usually a valve located behind or near the machine.
Step 2: Drain the Water
This is the most crucial step to avoid leaks. There are a couple of ways to drain your washing machine:
- Using the Drain Hose: Most washing machines have a drain hose at the back. Carefully detach this hose from the drainpipe (you might need a bucket to catch any residual water). Lower the hose to the floor into a bucket or sink and let gravity do its work, allowing any remaining water to drain out. You might need to gently shake the hose to encourage stubborn water to empty.
- Using the Drain Pump (If Your Machine Has One): Some machines have a specific drain pump function or a small drain plug near the bottom front. Consult your washing machine’s manual for instructions on how to use this to drain any remaining water.
Important: Once you think it’s drained, give it a little wiggle and check again! You want to be absolutely sure there’s no water sloshing around inside.
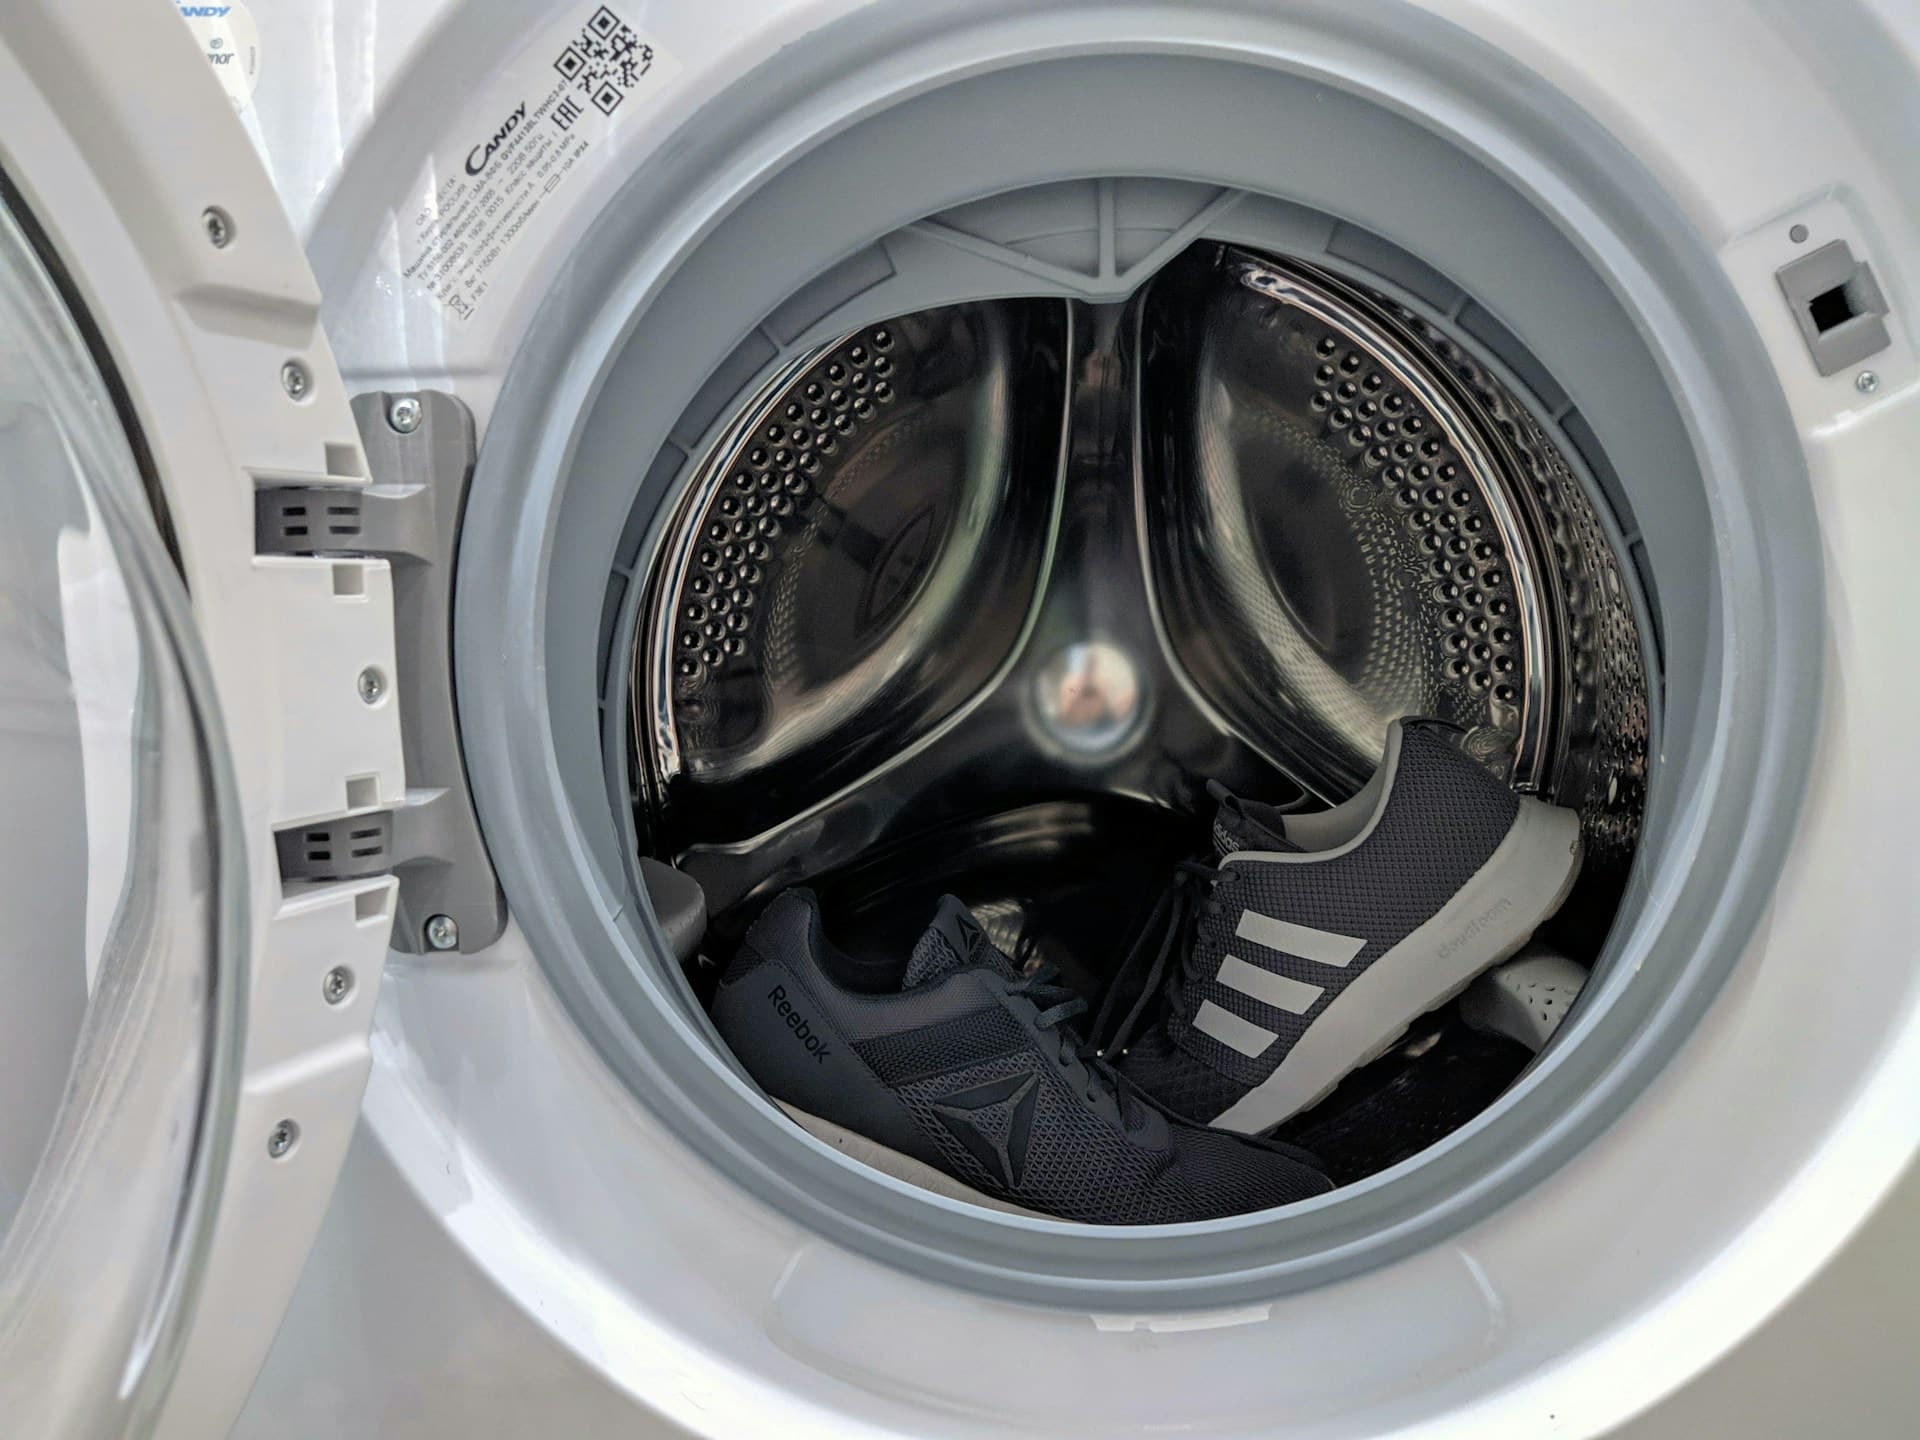
Step 3: Secure the Drum
Washing machine drums are designed to move, but not during transit! You need to secure it to prevent damage.
- Transit Bolts (The Ideal Solution): When you first bought your washing machine, it should have come with transit bolts (usually plastic or metal rods with rubber ends). Hopefully, you’ve kept these somewhere safe! These bolts are specifically designed to lock the drum in place for moving. Consult your washing machine manual to locate the transit bolt holes (usually at the back) and re-insert the bolts, tightening them firmly.
- No Transit Bolts? (Don’t Panic!): If you can’t find your transit bolts (it happens!), don’t worry. You can often buy universal transit bolts online or from appliance retailers. Alternatively, you can try stuffing towels or blankets around the drum to cushion and restrict its movement as much as possible. This isn’t as ideal as transit bolts, but it’s better than nothing.
Step 4: Clean and Dry
Now’s a good time to give your washing machine a quick clean. Wipe down the exterior and door seals, and give the detergent drawer a clean too – they can get a bit gunky! Make sure everything is dry before you move it to prevent mildew.
Step 5: Secure Hoses and Cables
Coil up the water hoses and the power cable and secure them to the back of the washing machine with tape or cable ties. This keeps everything tidy, prevents hoses dangling and getting damaged during the move, and makes it easier for the removal team to handle.
Happy2Move: Handling Your Appliances with Care
At Happy2Move, we know that appliances like washing machines are valuable and need to be treated with respect. Our experienced teams are trained in handling all sorts of household appliances safely and efficiently. While we rely on you to prepare your washing machine correctly, you can rest assured that we’ll take extra care when moving it, using the right equipment and techniques to ensure it arrives at your new home safe and sound.
By following these simple steps to prepare your washing machine, you’ll be making moving day smoother, safer, and less stressful for everyone involved. And you’ll be giving your trusty washer the best chance of a happy move to its new laundry room!
Ready for a hassle-free move? Get in touch with Happy2Move today for a free, no-obligation quote! Let us take care of the heavy lifting (and the appliance moving!), so you can focus on settling into your new home.